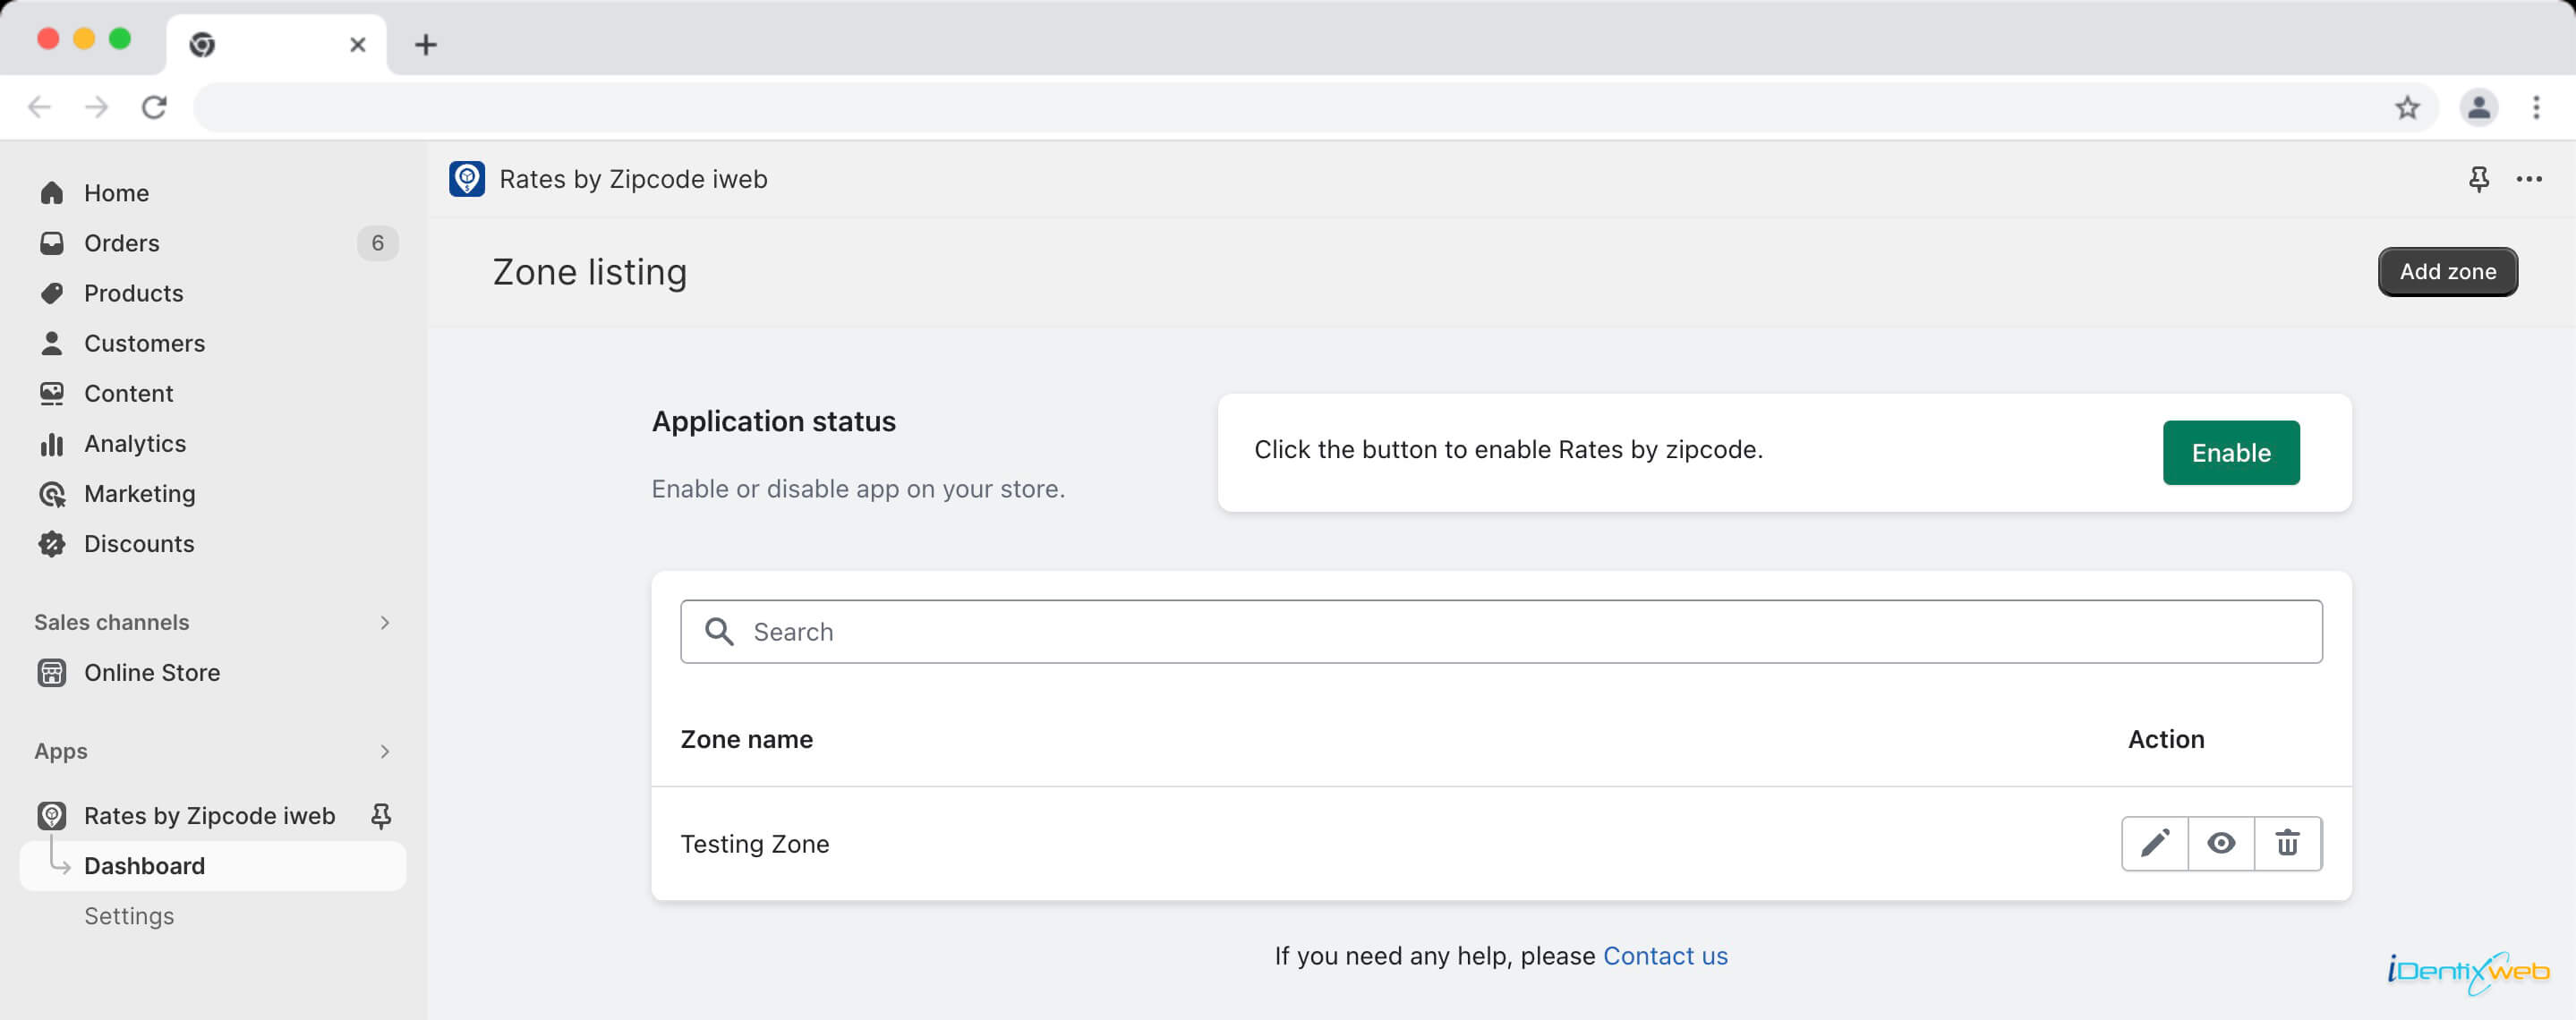
On the dashboard page, you’ll see all the zones with rates you have created. But what after creating the zone with rates? Rates by Zipcode iWeb provides you with various options to efficiently manage your defined shipping zones and their associated rates. This guide will walk you through the different actions available right to each zone list and how to use them effectively. Following actions can be perform for the zone:
Edit
To edit the rate for the zone, you can click on the edit (pencil) icon so you can make changes in the rates whenever needed. This action allows you to make adjustments to the shipping rates associated with the selected zone. You can modify existing rate settings, such as rate name, description, and rate amounts based on order value or weight.
Disable/Enable
Let’s say if you have created a multiple zones with rates but there is an requirement comes like you don’t want to use one of the listed zone price, clicking disable (eye) icon will deactivate the zone’s rate, meaning it won’t be available for selection during the checkout process. After disabling, if the need comes up to use that rate, you can again click on the same icon and it will activate the zone’s shipping rate, making it visible and applicable to customer orders.
Delete
To remove a zone, locate the Delete (trash) option corresponding to that zone. Clicking on that will prompt you to confirm this action. Keep in mind that deleting a zone will remove all associated rates and settings permanently.

