The Import Table option is used when users have already created or collected data in external formats (such as CSV, Excel) and need to upload that data into the current application or system. You can choose to import it as a new table, replace an existing table, or append rows to an existing table.
There are two ways to import data into a table. You can use the Import feature from the left-hand menu below the app name.
Steps: Go to the Shopify admin > Open the app > you can see Import feature below app name in left side.
Or you can import data directly from the table manipulation page for that specific table.
Here are the steps to import the table:
Step 1: Go to your Shopify Admin.
Step 2: Open the app in your store and Navigate to the Dashboard page.
Step 3: Click the Edit button under the Actions column next to the table you want to import the data.
Step 4: The Table Manipulation page will open.
Step 5: Click on the tab labeled “Import”.
Step 6: You will see all the available features for import, and you can import it.
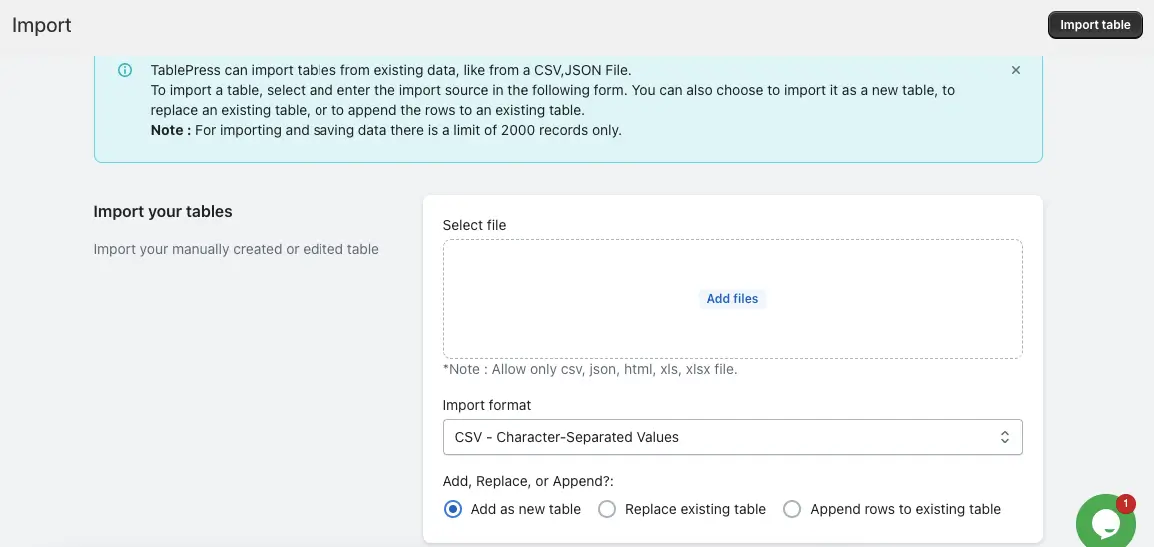
Import your tables
Let’s understand how to edit the table.
- Select File: Click the “Add File” button and select your file from your system.
- Import Format: You can choose one of the following formats: CSV or JSON.
- Add, Replace, or Append: The Add, Replace, or Append options for importing tables dictate how imported data interacts with existing records.
After completing these steps, click on the “Import Table” option at the top right.
Once the table is imported, you will be redirected to the “Table Data” page, where you can edit the table if needed. Otherwise, go to the Dashboard to see the table, copy its shortcode, and paste it wherever you want to add the table.